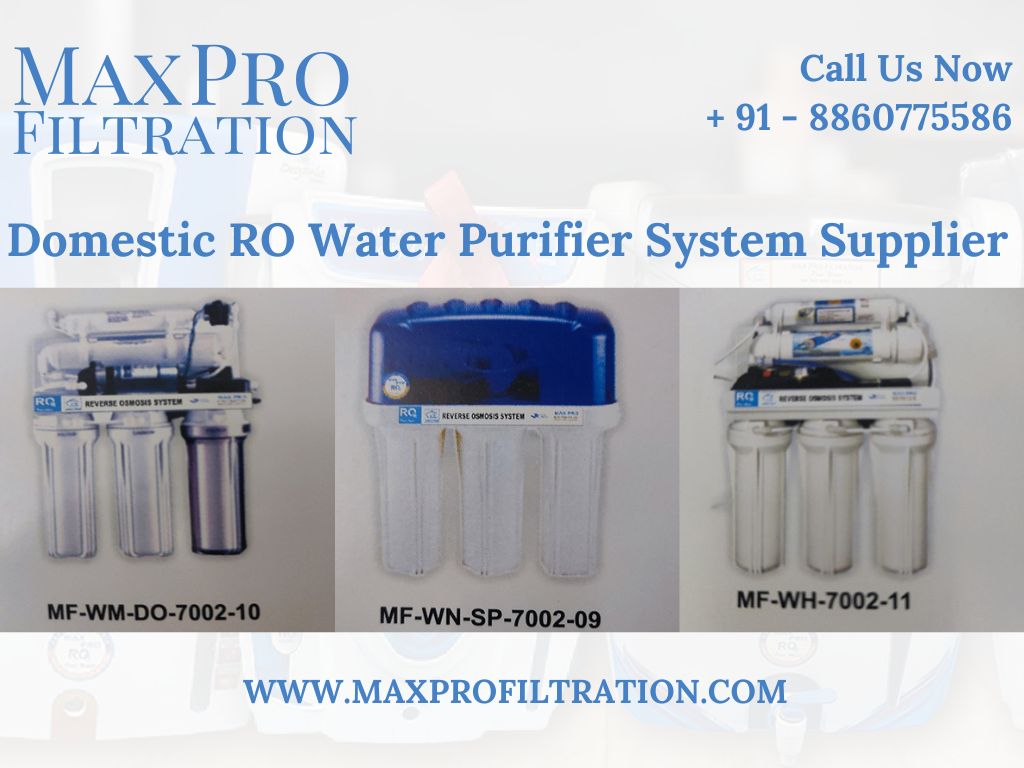
In the quest for clean and safe drinking water at home, installing a Domestic Reverse Osmosis (RO) Water Purifier System is a wise choice. Among the trusted names in the industry, Max Pro Filtration stands out for its commitment to providing cutting-edge water purification solutions and leading manufacturer and supplier. In this comprehensive guide, we will walk you through the seamless installation process of a Domestic RO Water Purifier System, ensuring that you and your family enjoy the benefits of pure and healthy water.

Step 1: Gather the Necessary Materials
Before embarking on the installation journey, make sure you have all the essential tools and materials ready. Max Pro Filtration typically provides a comprehensive installation kit with the necessary components. Ensure you have a wrench, tubing cutter, Teflon tape, and a bucket on hand. Read the installation manual thoroughly before starting.
Step 2: Choose the Right Location
Selecting an appropriate location for your RO water purifier is crucial. Max Pro Filtration systems are designed to fit comfortably under your kitchen sink, but ensure that there is enough space for easy maintenance access. Choose a spot close to the water source and drain to simplify the installation process.
Step 3: Turn Off Water Supply
Before getting hands-on with the installation, shut off the main water supply to your home. This step is crucial to prevent any unwanted water leakage during the installation process.
Step 4: Install the Faucet
Max Pro Filtration’s RO systems come with a dedicated faucet for dispensing purified water. Begin by installing this faucet on your kitchen sink. Follow the provided instructions for a secure and leak-free connection. Ensure the drilled hole for the faucet is of the appropriate size.
Step 5: Mount the RO System
Securely mount the RO system under your kitchen sink. Max Pro Filtration systems are designed for easy installation with labeled ports and color-coded tubing. Connect the tubing to the corresponding ports, ensuring a tight fit. Use the wrench to tighten the connections, but be cautious not to overtighten, which could damage the fittings.
Step 6: Connect the Tubing
Carefully connect the tubing according to the provided diagram in the installation manual. The inlet valve should be connected to the cold water supply, and the drain line should be properly connected to your home’s drain system. Double-check all connections to avoid any potential leaks.
Step 7: Start the System
Once all connections are secure, turn on the main water supply and allow the system to fill. Check for any leaks and tighten connections if necessary. Let the system run for a few minutes to flush out any air bubbles and impurities.
Step 8: Perform a System Check
Conduct a thorough check of the entire system, ensuring that there are no leaks, and all components are functioning correctly. Max Pro Filtration systems often include a pressure gauge to monitor system performance.You have successfully installed your Domestic RO Water Purifier System. Enjoy the peace of mind that comes with having a reliable and efficient water purification system at home, providing your family with access to pure and healthy drinking water. Regularly follow the maintenance guidelines provided by Max Pro Filtration to ensure the continued optimal performance of your RO system.
Source URL: https://maxprofiltration.blogspot.com/2024/01/installation-domestic-ro-water-purifier.html

Leave a comment